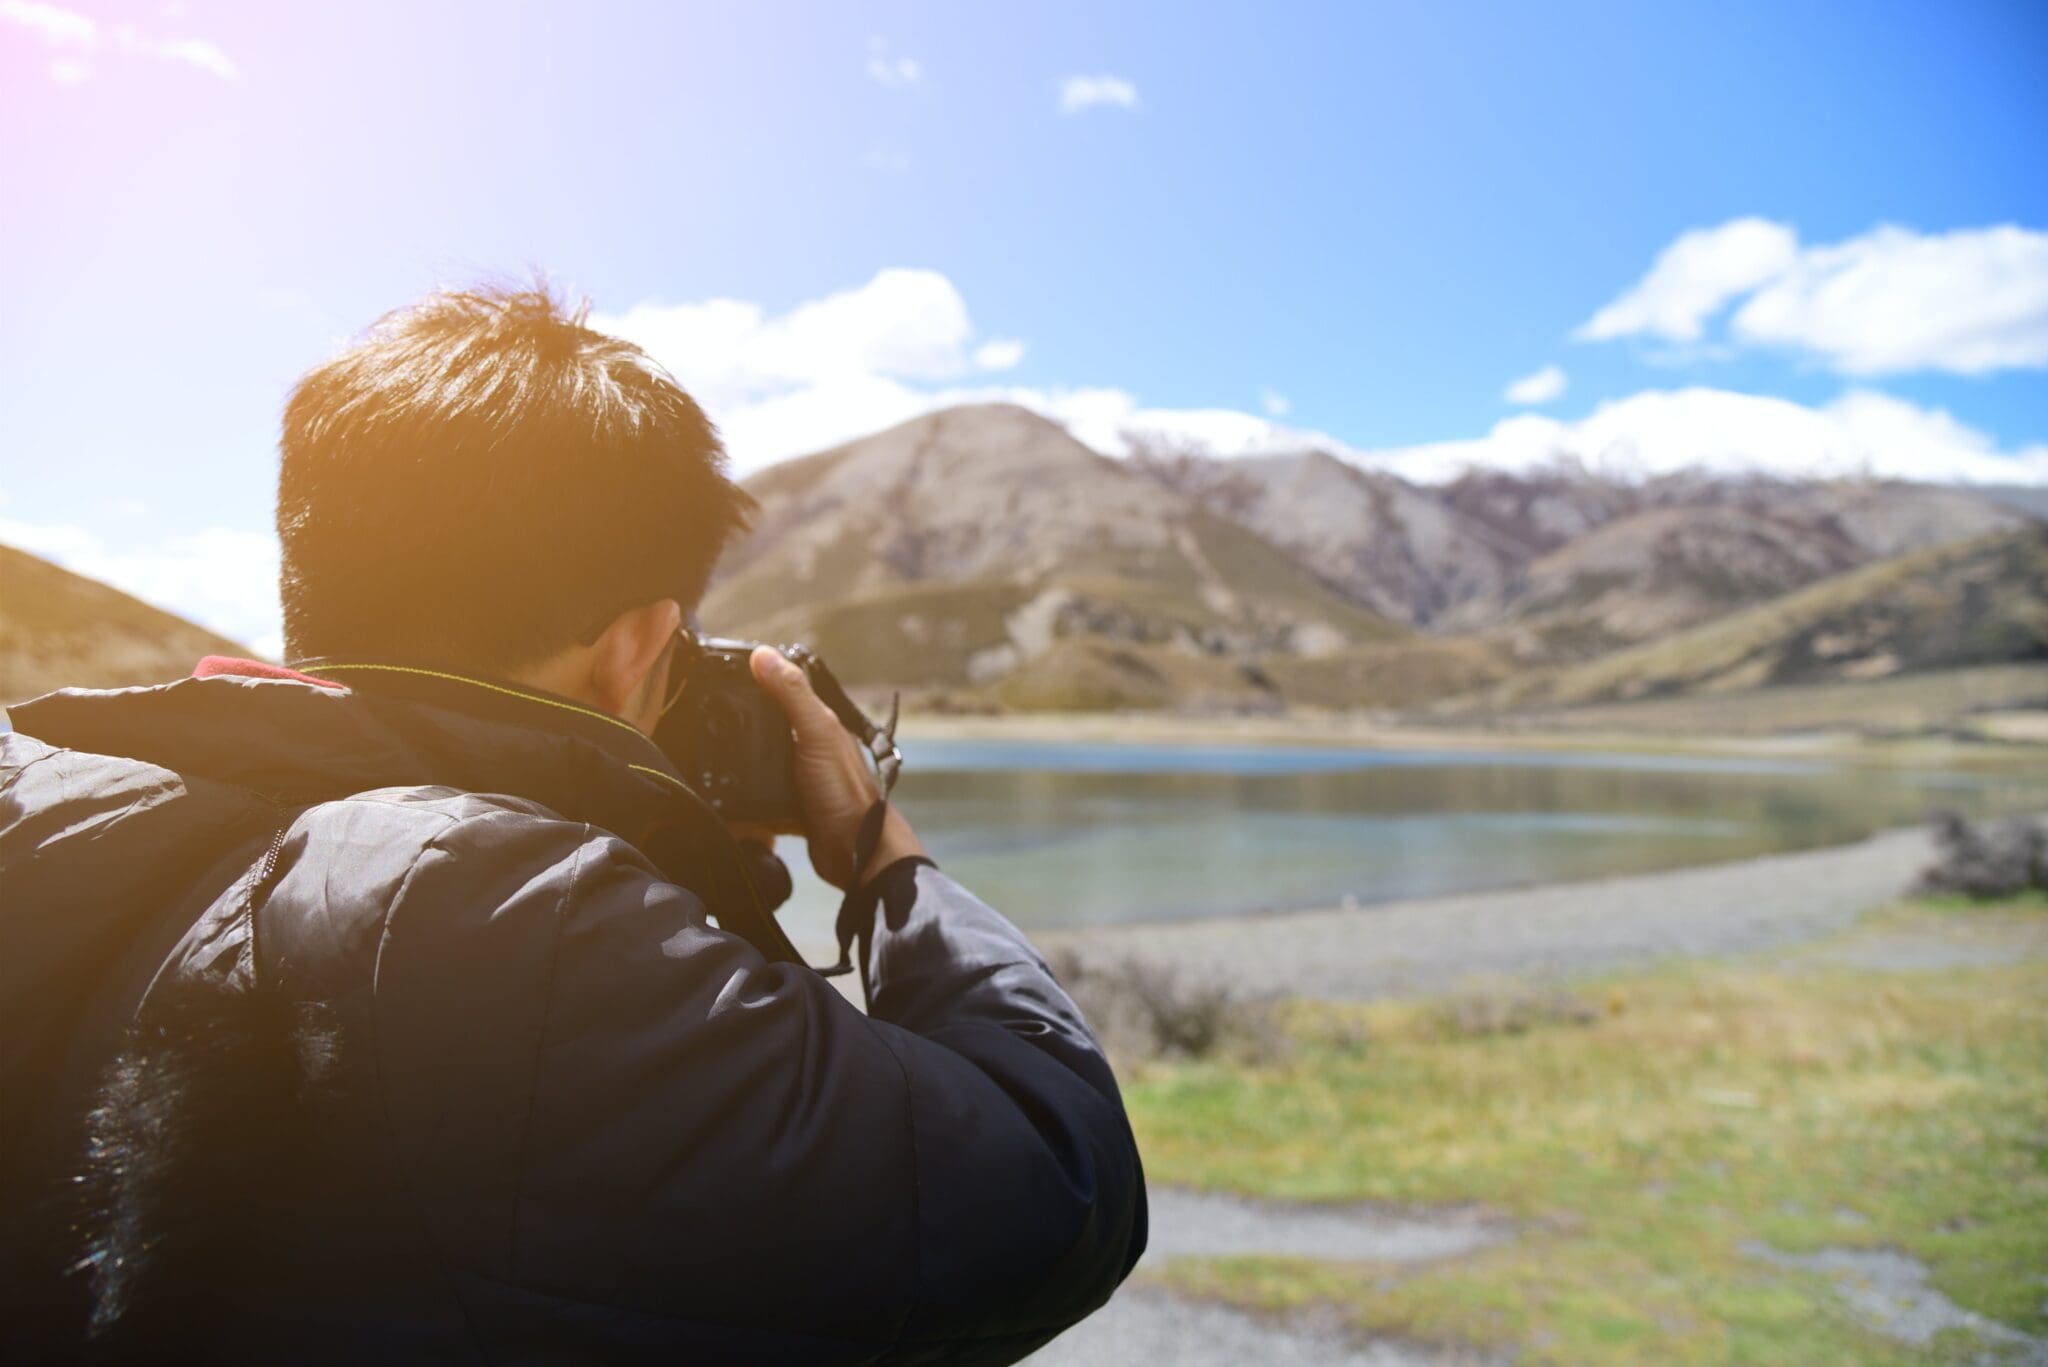
An Explanation of the Art of Long Exposure Photography.
Long exposure photography is a technique in photography that involves using a long-duration shutter speed to sharply capture the stationary elements of images while blurring or smearing the moving elements. It’s a powerful method to create dramatic and ethereal effects in photographs. Here’s a detailed explanation of the process:
1. Understanding the Concept:
• Shutter Speed: In long exposure photography, the shutter of the camera is kept open for a longer period, typically ranging from a few seconds to several minutes or even hours. This allows more light to enter the camera sensor or film.
• Effects: Long exposures can smooth out moving water, create light trails, blur moving clouds, or capture the movement of stars across the sky.
2. Equipment Needed:
• Camera: A camera that allows manual control over shutter speed, aperture, and ISO settings.
• Tripod: Essential for stabilizing the camera during long exposures to prevent blurring from camera shake.
• Neutral Density (ND) Filters: These reduce the amount of light entering the lens, enabling longer shutter speeds without overexposure.
• Remote Shutter Release: Useful to avoid shaking the camera when pressing the shutter button.
3. Setting Up:
• Location: Choose a location where the interplay of stationary and moving elements is evident.
• Composition: Frame your shot, focusing on how the moving elements will traverse through the frame.
• Focus: Manually focus your camera to ensure the main subject is sharp. Auto-focus might struggle in low light or with ND filters.
4. Camera Settings:
• Manual Mode: Switch your camera to manual mode for full control.
• Shutter Speed: Choose a long shutter speed. The exact duration depends on the desired effect and available light.
• Aperture: Adjust the aperture to control the depth of field. Smaller apertures (higher f-numbers) are typically used to ensure a wide depth of field.
• ISO: Set the ISO as low as possible to reduce noise.
• White Balance: Adjust according to the lighting conditions or set to auto.
5. Taking the Shot:
• Use a Remote Shutter Release: If you have one, use it to open the shutter. Otherwise, use the camera’s built-in timer.
• Exposure Time: Let the camera record the scene for the chosen duration. Keep an eye on the exposure to ensure it’s neither too dark nor overexposed.
6. Post-Processing:
• Editing Software: Use software like Adobe Lightroom or Photoshop for post-processing.
• Adjustments: You might need to adjust exposure, contrast, sharpness, and color balance.
• Noise Reduction: Apply noise reduction if necessary, especially for very long exposures or high ISO settings.
7. Experimentation:
• Trial and Error: Long exposure photography often requires experimentation with different shutter speeds and ND filter strengths.
• Creative Effects: Experiment with moving the camera during exposure, zooming in or out, or using flash to freeze part of the scene.
8. Challenges and Solutions:
• Light Leaks: Ensure no extra light leaks into the camera, especially when using high-density ND filters.
• Overexposure: Check the histogram and adjust the ND filter, aperture, or exposure time accordingly.
• Vibration: Avoid touching the camera or tripod during exposure. Wind can also cause movement, so shield the setup if possible.
Long exposure photography is combination of technical knowledge and artistic vision. Mastering it requires practice, patience, and a willingness to experiment with different settings and conditions.
I feel this process gives total artistic & personal control over the captured results.
Vendor Registration
Submit the form below to become a vendor on this store.
